Updating Client Time Zone
Navigate to the client chart ➡️ Overview tab. Scroll down to the Time Zone, select the proper time zone, and select Save Changes.
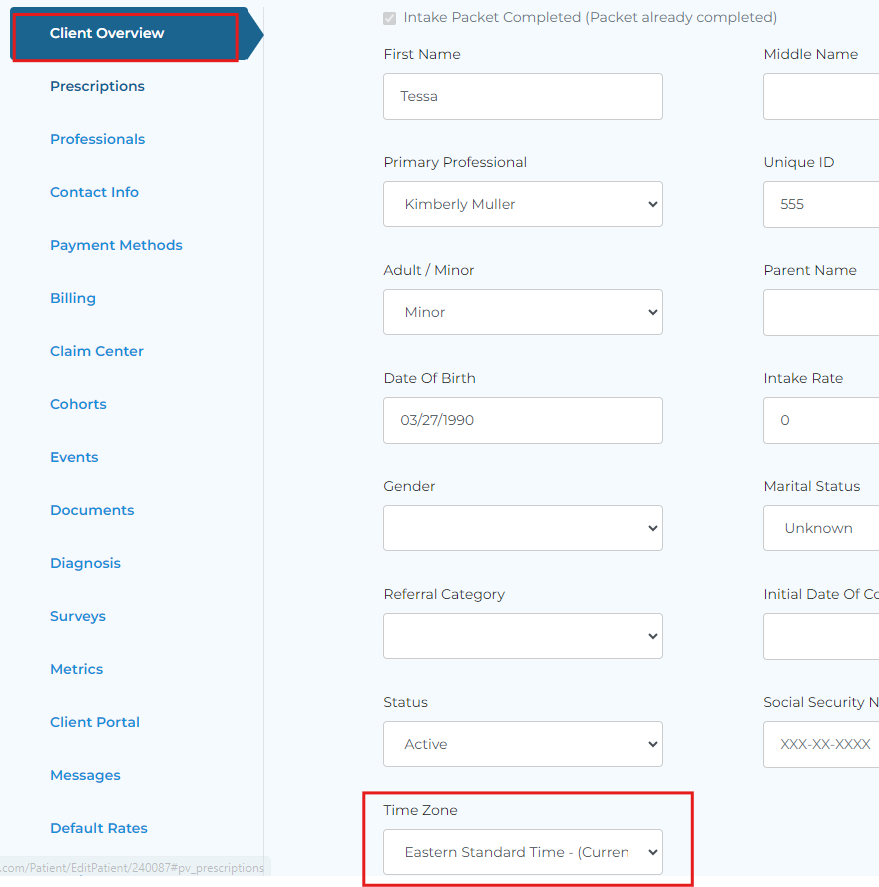
Updating the clients time zone will update their appointments to the proper time based on their time zone. This will update in their client portal and on their appointment reminders.
Related Articles
Client Portal: Time Zone Update
Once logged into the client portal, navigate to Settings and select Change Time Zone. Here, you will select your time zone and Save Changes. Updating your account to the proper time zone will update the appointments on your Scheduling tab based on ...Practice Time Zone Update
Step 1: Go to Account Settings, and then click Edit on Practice Settings. Step 2: Choose your preferred time from the Time Zone dropdown box and then click Save Changes.Adding a Collateral Client to an Appointment
Collateral clients added to a primary client’s session, will not have a record of the session in their chart or be billed. If you prefer to have a record for both clients see Creating Client or Staff Groups. Create a new session and add the primary ...Editing Upcoming Appointments from the Client Chart
Now, staff can edit upcoming appointments right from the client's chart. Select the 'See Upcoming Appointments' modal available from any tab within the client chart. Then, choose the date and time of the appointment you want to edit to open the ...Updating Client Status
Navigate to the Client Overview page within their chart. Then, scroll down to Status. Here, select the drop-down and choose the client's updated status. I.e., Inactive, Active, Wait List, Prospect.