Adding a Collateral Client to an Appointment
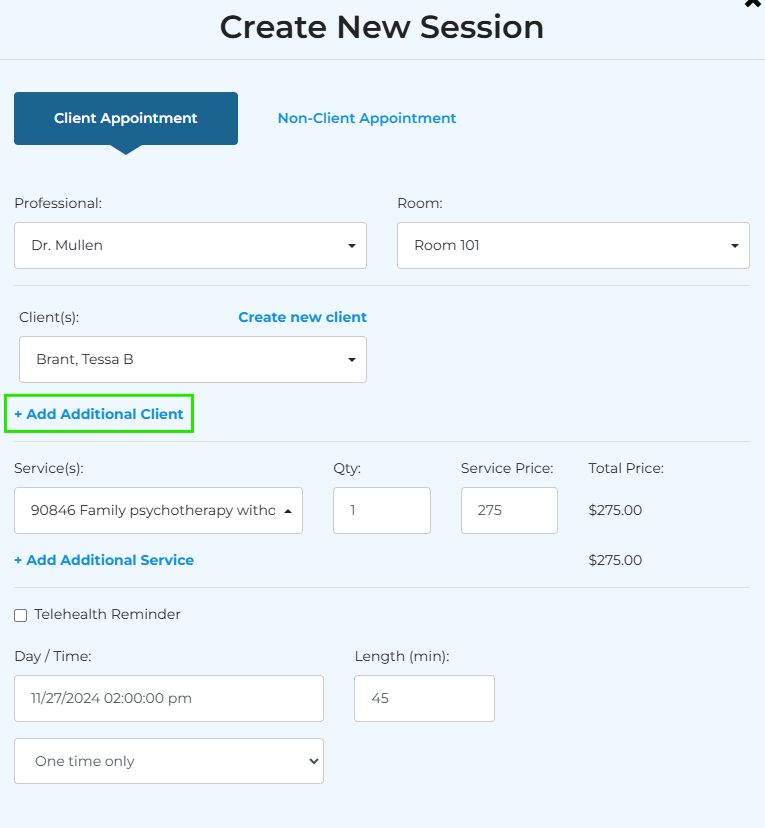
Create a new session and add the primary client. Then. select + Add Additional Client.
A second client dropdown box will appear and allow you to add the collateral client.
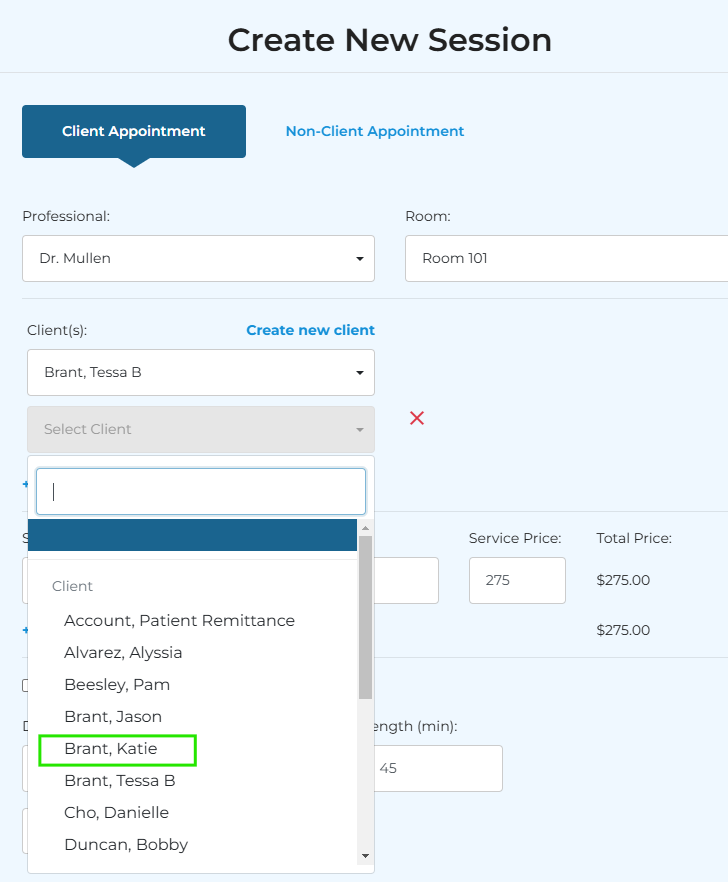
Once the collateral client has been added, select Add Appointment.
Related Articles
Adding a Client
Step 1: select the Add Client button at the top right. Step 2: complete all of the necessary information to enroll your client. To quickly add a client to the system you only need their name. Uncheck “Enroll in Client Portal” See Enrolling Contact in ...Adding / Editing Admin Notes within an Appointment
Quickly add and view administrative notes within your client appointments to provide more context or to include important reminders. Step 1: Create an appointment on the calendar and select add under Admin Notes:. Step 2: A rich text field will ...Client Portal Guide: Enrolling Additional Portal Users
Step 1: Navigate to the client’s chart. Step 2: Select the Client Portal tab and click + Add New User. Step 3: A pop-up box for Add/Edit Portal User will appear. First, enter the user's details. Then, check the necessary box(es) to grant proper ...Granting Additional Providers Access
To grant additional providers access to a client chart, navigate to the client’s chart ➡️ select the Professionals tab on the left ➡️check off any additional professionals' names.Client Portal Guide: Adding a New Client (Enrolling Contact in Portal)
This feature is helpful when a minor or other client relies on a parent/guardian to assist in completing tasks. I.e., they do not have an email address or cannot access a computer on their own. If the client has an email and can access a computer, ...