Getting Ready for MBP's Data Import
MBP understands that migrating from another EHR can be daunting, but this guide will walk you through each step to make it as seamless as possible.
Step 1: Follow the instructions from your current EHR to export all of your client data. You can find the directions for some of the more common EHR's here:
- For solo practices, please export the complete client data in one Zip folder.
- For group practices, please export the complete client data as separate Zip folders for each individual provider.
- TheraNest
- Therapy Notes -- Request your account data export by contacting their support team
 IMPORTANT NOTE REGARDING DATA IMPORT:
Due to how different EHRs provide their data exports, MBP is only able to import the information as it is given to us.
- Simple Practice Constraints
- DIAGNOSES -- SP's diagnoses are listed within a PDF document called Diagnosis and Treatment Plan.
- We cannot export the diagnoses from these individual PDFs.
- However, you can use our "Missing Dx Code(s)" feature within the To-Do List to quickly go through your list of clients and add the appropriate diagnosis codes.
- SESSION NOTES & OTHER CLINICAL DOCUMENTS -- SP provides all documentation in PDF format.
- The documents for each client will be filed within their individual Document Center.
- In order to view historic notes and/or medical records, you'll need to download the PDFs from the Document Center
STEP 2: In order to use MBP's Import Center, you will need to add a payment method to your account.
**Your card will not be charged until your 14-day free trial period has ended.
Step 3: Once you have exported all of the data from your previous EHR, navigate to your Account Settings found in the Settings dropdown.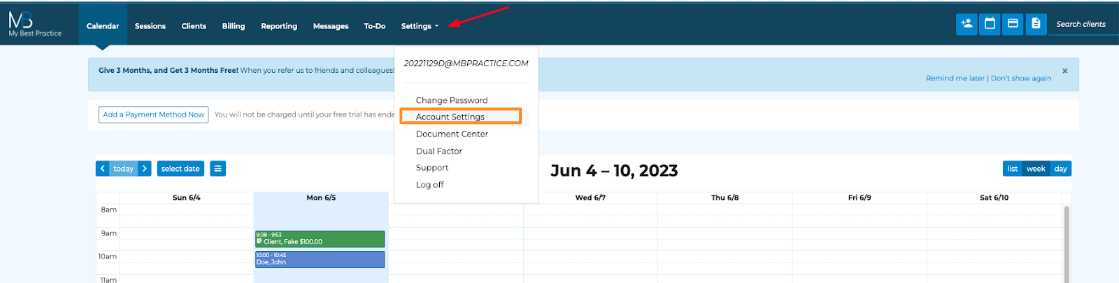
Step 4: Click on the Import Center tab on the left-hand side. 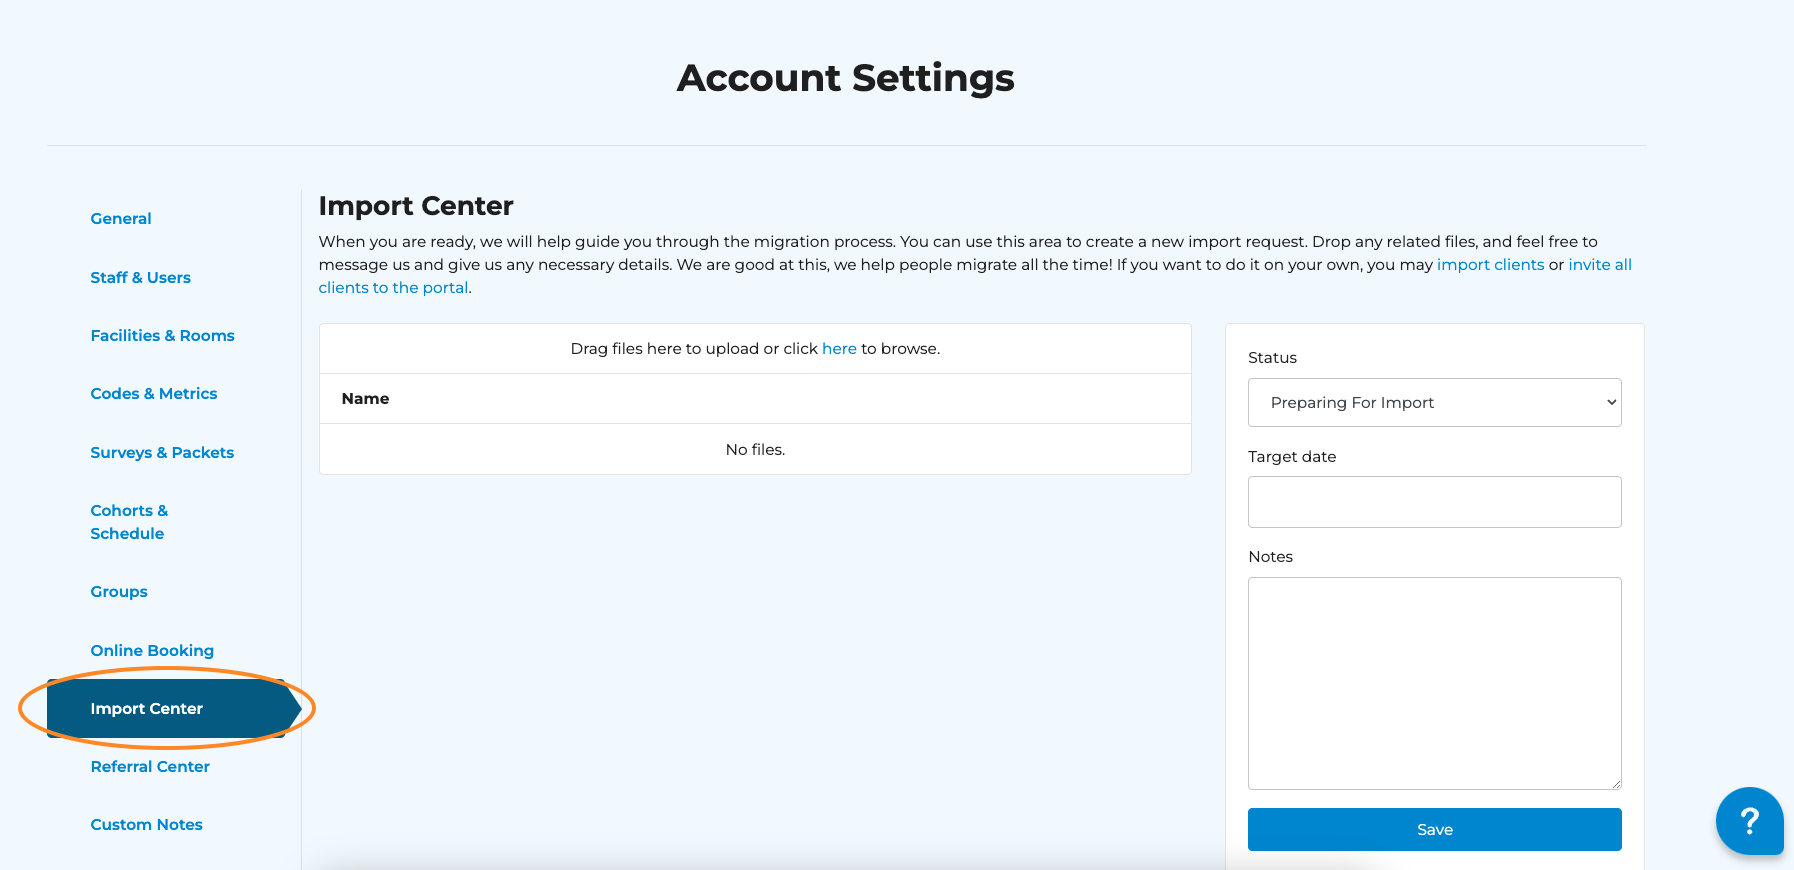
Step 5: Upload all Zip folders that you've exported from Simple Practice by either dragging/dropping them into MBP or by clicking the link to browse the local files on your computer.

Typically, this can be completed within 1 business day. However, if you require it sooner, please let us know in the Notes field.
NEED MORE SUPPORT?
You can utilize the support center directly from within anywhere in MBP to quickly search our knowledge-base, submit support tickets, or view our step-by-step guides as you navigate within your account.
To open the support center from anywhere, simply click on the blue question mark located in the bottom right-hand corner of your screen.
Related Articles
Utilizing the Import Center
Importing Your Data into MBP After entering your card information and selecting the appropriate migration package, you're now ready to upload your client import data into your My Best Practice account. Step 1: Log-in to My best Practice, then go to ...How-To Export ALL Client Data from Simple Practice
Our team is ready to help you transfer all of your data from Simple Practice with just three file exports. Simply follow this step-by-step guide to collect the right files and send them our way. The following 3 files are needed to migrate from Simple ...Client Import Template
Please complete the attached client import template. For HIPAA-compliance purposes, once it has been filled out, please upload it to the Shared Practice Drive within your MBP account: Uploading to Shared Practice DriveSelecting a Migration Package
Selecting a Migration Package Step 1: Login to your MBP account, and click "Add a Payment Method Now" Step 2: Go to Account Settings within the Settings dropdown. Step 3: Click the Import Center tab on the left-hand side and select the migration ...Exporting Account Data
Exporting ALL Clients' Demographics and Contact Information To download ALL of your clients' demographics and contact information in one CSV file, please see the following steps. STEP 1: Navigate to the Clients tab. STEP 2: Click on the export icon ...